Store Connection Guide
Connect your marketplace stores to Revenuealot to unlock powerful analytics, automation, and optimization tools. This guide covers connecting Takealot, Amazon, Shopify, and Makro stores.
Security & Data Privacy
Your data security is our priority. All store credentials and data are encrypted and stored securely.
- 🔒 Encryption: All data is encrypted in transit and at rest.
- 🔑 Credentials: We only request these details because many e-commerce platforms in South Africa do not provide sufficient API access.
- 🛡️ Access Control: Only authorized team members can view store data.
Before You Start
What you need:
- Access to your Takealot Seller Portal
- Your Takealot API credentials
- Access to Amazon Seller Central
- The Amazon marketplace you want to connect
- Optional for Ads Center only: Business+ plan and Amazon Ads admin access
- Your Shopify store prefix (
your-store.myshopify.com) - Makro seller credentials and email forwarding access
- Store admin permissions
Connect Takealot Store
Overview
Connecting your Takealot store allows Revenuealot to sync via API and intelligent collection:
- 📦 Product Data & Inventory: Real-time sync of listing details and stock levels.
- 💰 Sales & Revenue Metrics: Comprehensive sales dashboards and revenue analysis.
- 📊 Order & Return Info: Automatically pull historical and real-time orders and returns.
- 🎯 Ad Campaign Data: Track ROAS and campaign performance.
- ⭐ Product Reviews & Ratings: Monitor customer feedback and rating trends.
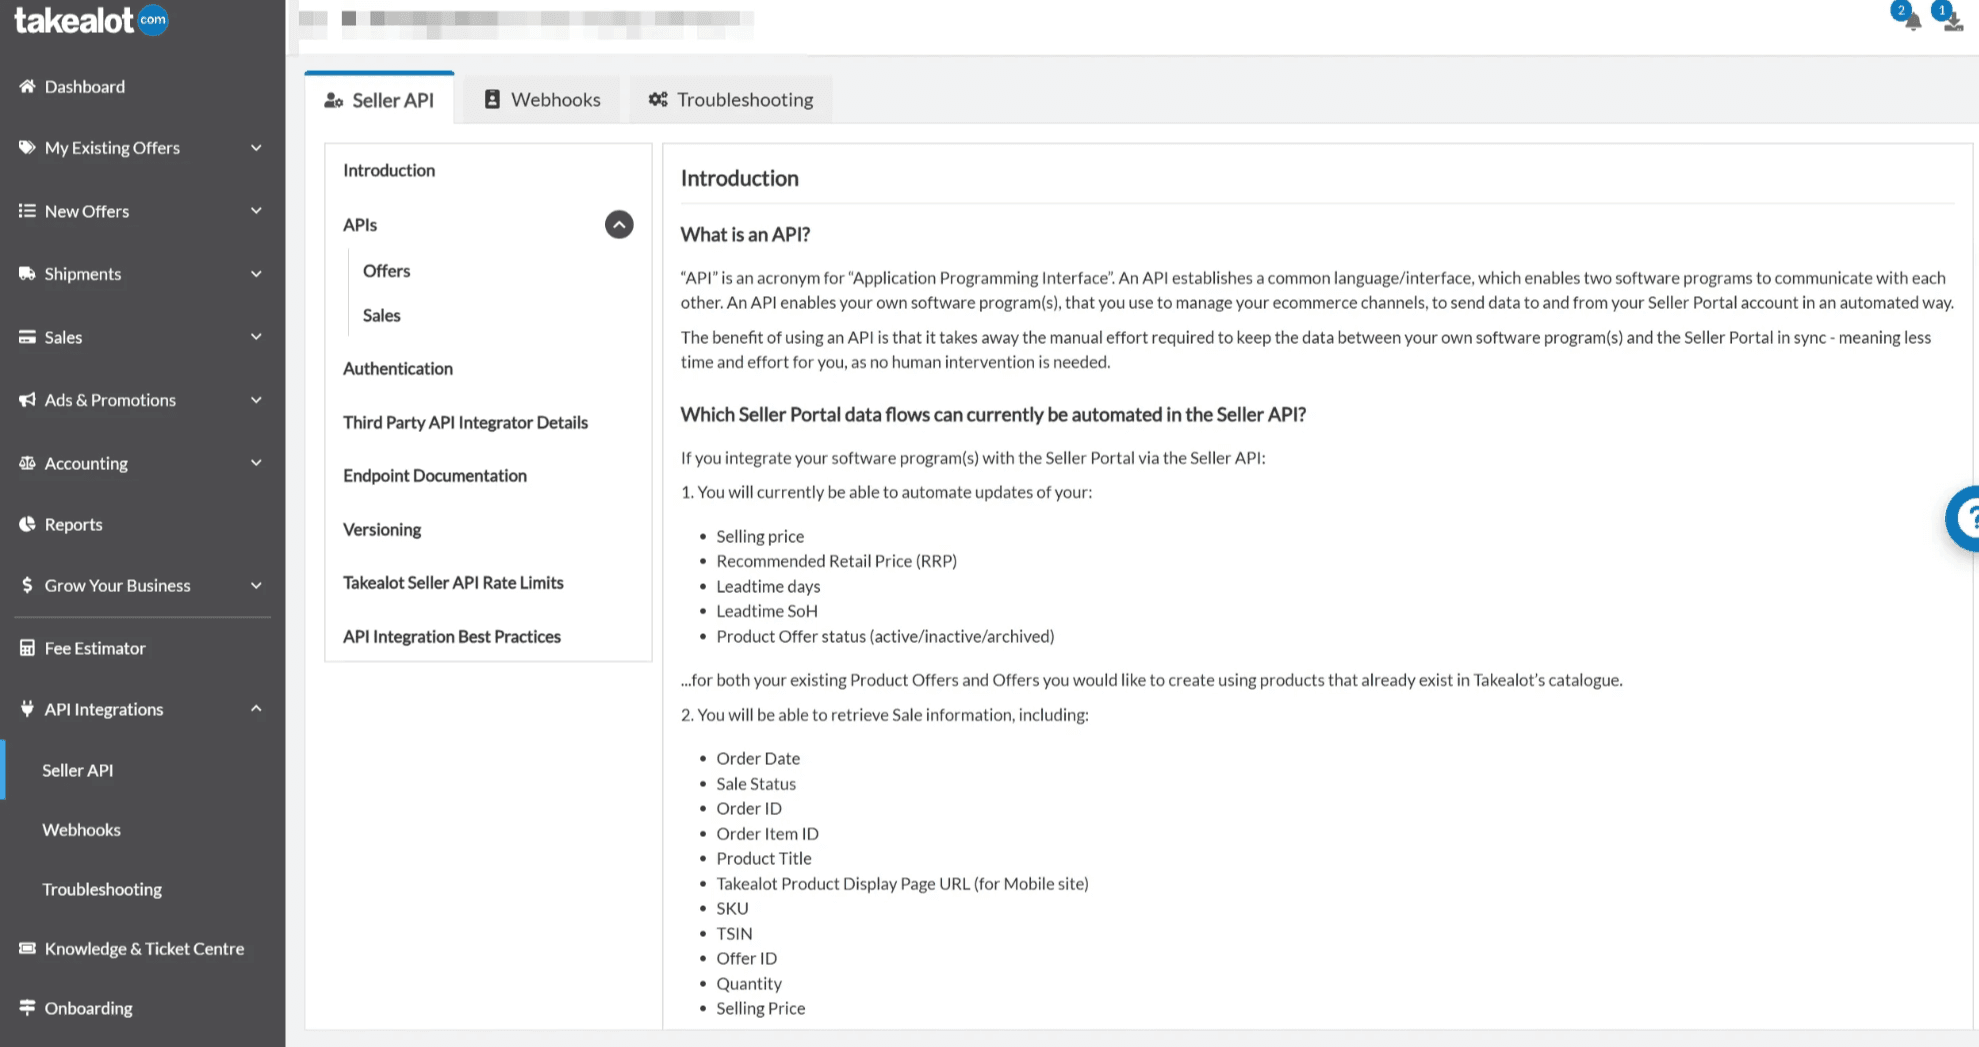
Step 1: Get Your Takealot API Credentials
-
Access API Key Management
- Visit Takealot Seller API Key Management
- Sign in with your seller credentials if prompted
-
Generate API Key
- Click “Generate New API Key” or create a new key
- Copy the API Key (you won’t be able to see it again!)
Step 2: Add Store in Revenuealot
-
Navigate to Store Settings
- Go to Dashboard → Settings → Stores
- Click “Add Store” and select Takealot
-
Enter Store Credentials
You will need to provide the following information to establish a full connection:
- Store Name: Give your store a recognizable name.
- Seller ID: Your Takealot Seller ID.
- Login Email/Username: The email address or username you use to log in to the Takealot Seller Portal.
- Login Password: The password for your Takealot Seller Portal account.
- API Key: The API Key you generated in Step 1.
⚠️Why do we need your login credentials? Takealot’s API does not cover all functionalities required for advanced analytics and automation. We use your credentials to securely access the necessary data that isn’t available via the public API. Your credentials are encrypted and stored securely.
-
Save and Connect
- Click “Connect”
- The system will verify your credentials and start the initial sync.
Connect Amazon Store
Overview
Connecting your Amazon store enables:
- 📦 Products and Inventory: Listings, FBA and FBM stock, pricing
- 🧾 Orders and Returns: Order status and return records
- 📈 Sales & Traffic / Economics: Core performance metrics
- 📊 Store Metrics and Product Analytics: Dashboards and product insights
- 🔁 Listing Sync and Publish: Cross-platform sync to Amazon
Step 1: Confirm Marketplace and Permissions
- Sign in to Amazon Seller Central and confirm the marketplace you want to connect.
- Ensure you have admin permission to complete authorization.
Step 2: Start the Connection in Revenuealot
- Go to Dashboard → Settings → Stores.
- Click “Connect Amazon Store” and select a marketplace.
- Click “Connect” to open the Amazon authorization page.
- Approve access and return to Revenuealot.


Step 3: Wait for Initial Sync and Verify
- Confirm your Amazon store appears and is active in the store list.
- On the Amazon store card, verify that the GTIN Exempt switch matches this store’s actual Amazon eligibility.
- When the switch is on, listing sync automatically sends
supplier_declared_has_product_identifier_exemption; when it is off, UPC/EAN/GTIN must be provided before publishing. - After sync, open Amazon Store Metrics.
- Open Amazon Product Analytics to confirm data.
Initial sync: The first connection pulls up to 180 days of historical data and can take longer.
Default GTIN behavior: Newly connected Amazon stores start with GTIN exemption enabled. This is a store-level setting that directly affects whether listing publishing automatically declares the exemption and whether UPC/EAN/GTIN is required; you can change it later on the Amazon store card under Settings → Stores.
Connect Amazon Ads (Business+ only)
After your Amazon store is connected, Business and Enterprise plans can authorize Amazon Ads to sync ad profiles and use the Ads center.
Amazon Ads connection is only available on Business and Enterprise plans.
- Go to Dashboard → Settings → Stores.
- Click “Connect Ads” on the Amazon store card.
- Complete the Amazon Ads authorization in the new window.
- Return and verify the Ads profile count and status.
Connect Shopify Store
Overview
Shopify connections now use a merchant-managed custom app flow. Each merchant creates and installs an app in their own Shopify Dev Dashboard, then submits the store domain, Client ID, and Client Secret to Revenuealot for validation and data sync.
- Your store owns the Shopify app.
- Revenuealot never asks you to install a shared public app.
- Revenuealot validates your app credentials and syncs data on your behalf.
- Your existing Revenuealot billing stays unchanged.
This Shopify flow no longer uses the shared OAuth install flow described in older versions of the guide.
Before You Start
Make sure you have:
- Shopify admin access for the target store
- Permission to access Shopify Dev Dashboard for your organization
- Your permanent Shopify domain in the format
your-store.myshopify.com(this is the permanent domain Shopify automatically assigns to every store — it remains valid even if you configure a custom domain) - Access to Revenuealot Dashboard → Settings → Stores
Do not email your Client Secret to Revenuealot. Always submit credentials through the secure Revenuealot connection form.
Data and Permissions
Revenuealot currently requires the following Shopify scopes. Configure all of them up front — copy the line below when setting up your app:
read_products,read_orders,read_all_orders,read_returns| Scope | Purpose |
|---|---|
read_products | Product sync and catalog reporting |
read_orders | Orders and refund data access |
read_all_orders | Backfill up to 180 days of historical orders during initial sync |
read_returns | Return and refund tracking |
Revenuealot will reject the connection if any of these scopes are missing. If you add them later, Shopify usually requires a new app release and a reconnect.
Step 1: Create the app in Shopify Dev Dashboard
- Sign in to Shopify Admin for the store you want to connect. Go to Settings → Apps and click Develop apps.

- Click Build apps in Dev Dashboard to open the Dev Dashboard.

- In the Dev Dashboard, click Create app.

- Under Start from Dev Dashboard, enter an app name (e.g.
Revenuealot) and click Create.

Step 2: Configure app access and scopes
- Open the app version configuration screen.
- In the Access scopes section, paste the following scopes (copy the whole line):
read_products,read_orders,read_all_orders,read_returns- Click Release at the bottom of the page, then save the configuration.

Revenuealot will reject the connection if any of these scopes are missing. If you add them later, you will need to release a new app version and reconnect.
Step 3: Install the app
- After releasing, go back to the app Overview page.
- Click Install app in the top-right corner.
- Confirm the app shows as installed before moving on.

Step 4: Copy the credentials from app settings
- Open the app Settings page.
- Copy the following values:
Client IDClient Secret
- Also confirm your permanent store domain, such as
your-store.myshopify.com.

Step 5: Submit the credentials in Revenuealot
- Go to Dashboard → Settings → Stores.
- Choose Connect Shopify via Custom App.
- Enter:
shop.myshopify.comClient IDClient Secret
- Click Validate and Connect.

Step 6: Wait for validation and initial sync
After submission, Revenuealot will:
- Validate your credentials
- Check the granted scopes
- Start the initial data sync (products, orders, refunds)
If validation fails, Revenuealot will show a clear error so you can correct the setup.
Security Best Practices
- Store the Client ID and Client Secret in a password manager before submitting them
- Use a dedicated private app name so your team can recognize it later
- Do not reuse the same app for unrelated stores unless your internal policy allows it
- Rotate the secret immediately if it was exposed outside the secure connection form
Shopify Troubleshooting
The credentials were rejected
Check the following:
- The app has been released
- The app has been installed in the correct store
- The store domain is the permanent
*.myshopify.comdomain - The Client ID and Client Secret were copied from the correct app
Revenuealot says scopes are missing
Update the app version in Shopify Dev Dashboard, add the missing scopes, release again, and then reconnect in Revenuealot.
The store connected but no data appears
Initial sync can take time. If the store remains empty after the expected sync window, reconnect the app or contact Revenuealot support with the store domain.
Connect Makro Store
Overview
Makro integration uses a hybrid model (Credentials + Email Forwarding) to provide:
- 🏪 Product Listing Management: Manage listings directly using your seller credentials.
- 📈 Performance Tracking: Track overall store performance based on parsed data.
Step 1: Add Store in Revenuealot
-
Navigate to Store Settings
- Go to Dashboard → Settings → Stores
- Click “Add Store” and select Makro
-
Enter Store Credentials
- Select Makro in the drop down list
- Enter your login credentials
Step 2: Configure Email Auto-Forwarding
To ensure uninterrupted integration with your Makro account, you must set up permanent email auto-forwarding from the email address linked to your Makro account. This is required because Makro does not provide enough API access for automation, so our system relies on receiving account-related emails directly.
-
Configure Auto-Forwarding
-
Log in to the email account associated with your Makro seller account.
-
Set up a rule to auto-forward all emails from Makro to:
RD@revenuealot.com
-
-
Setup Guides for Common Email Providers:
- Gmail: Forward emails automatically
- Outlook: Microsoft 365: Set up inbox rules for forwarding
- Lark: Set up mail forwarding
- Other: Search for “auto-forwarding” in your email provider’s help center.
Troubleshooting
Takealot Connection Issues
Issue: “Validation Failed” or “Invalid API Credentials”
Possible Causes:
- API Key does not match the User ID.
- API Key has expired or been revoked.
- Incorrect User ID entered (ensure it is User ID, not Seller ID).
Solutions:
- Log in to Takealot Seller Portal and regenerate the API Key.
- Ensure you copy the full API Key string.
- Verify the User ID is correct (usually visible on the API Key generation page).
Makro Connection Issues
Issue: “Makro Account Validation Failed”
Cause:
- Incorrect username or password.
- Makro portal is undergoing maintenance.
Solutions:
- Try logging into the Makro Seller Portal directly to confirm credentials are valid.
- Ensure no extra spaces are entered.
- If you changed your Makro password, update credentials in Revenuealot.
Amazon Connection Issues
Issue: Authorization failed or callback error
Possible Causes:
- Authorization was denied on the Amazon page.
- The browser blocked popups or redirects.
Solutions:
- Start the connection again and complete authorization.
- Allow popups and redirects, then retry.
Amazon Ads Connection Issues
Issue: Ads authorization failed or callback error
Possible Causes:
- Authorization was not completed.
Solutions:
- Click “Connect Ads” again and finish authorization.
General Connection Tips
✅ Best Practices:
- Use a stable internet connection when connecting stores.
- Do not refresh the page during initial sync.
- Keep API credentials secure and never share them.
- If you change your password, re-test the connection.
❌ Avoid These Errors:
- Sharing API keys publicly or with unauthorized team members.
- Using the same API key across multiple platforms if not supported.
- Ignoring “Connection Lost” warnings.
Next Steps
- 📊 Explore Dashboard - View store analytics
- 📈 Amazon Store Metrics - Monitor Amazon performance
- 📦 Amazon Product Analytics - Review product-level insights
- 🔁 Listing Sync - Sync listings to Amazon
- 🔍 Competitor Research - Analyze the market
- 💰 Auto Pricing - Automate pricing rules
- 🧩 Chrome Extension - Install the browser tool
Need Help?
If you encounter any issues connecting your stores, please reach out to our support team at support@revenuealot.com.